Sally Hansen Gel Polish Review
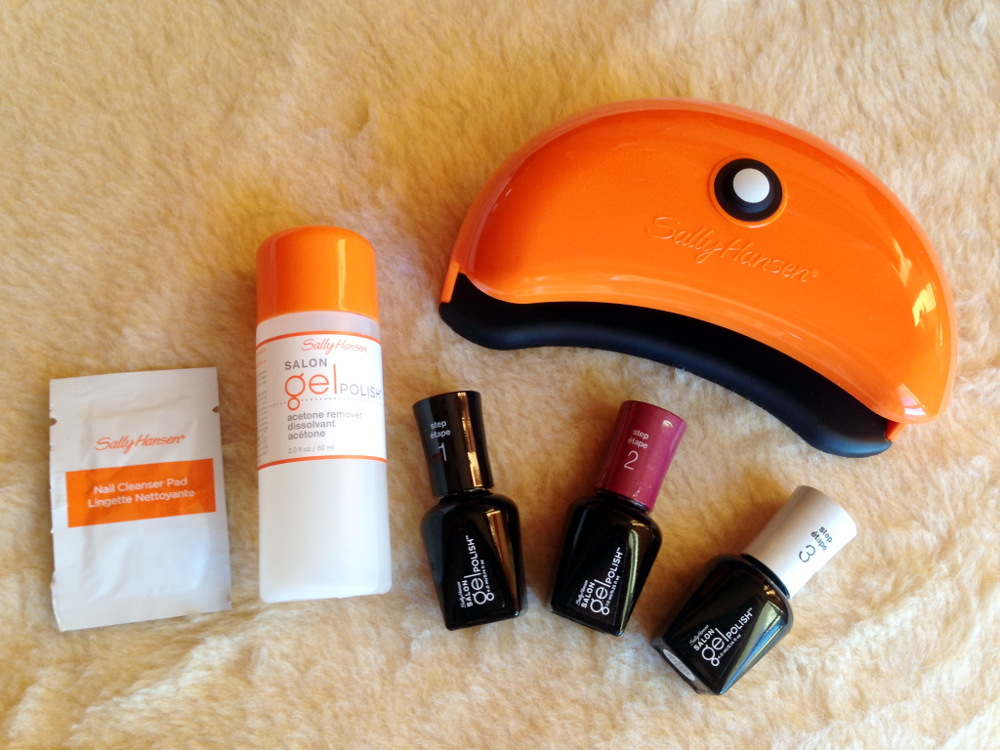 Hi beauties, we all know that to make a nail polish stay flawless on your nails more than one day is impossible. Our manicure is constantly under the risk of damage cause we daily use our hands and nails for million activities. Recently, companies came out with the gel nail kits for an easy diy gel nails manicure. It is a dream come true for lots of girls, I guess. Despite the fact that gel does not hold on my nails (I’ve been aware of this since the golden times of gel nails), I wanted to try out the popular Sally nails. The Sally Hansen salon gel polish also appeared on my Christmas wish list. And see how lucky I am! I really have chance to share my Sally Hansen gel polish review and tell you all about the starter kit in a pretty color no. 40300 – wine not.
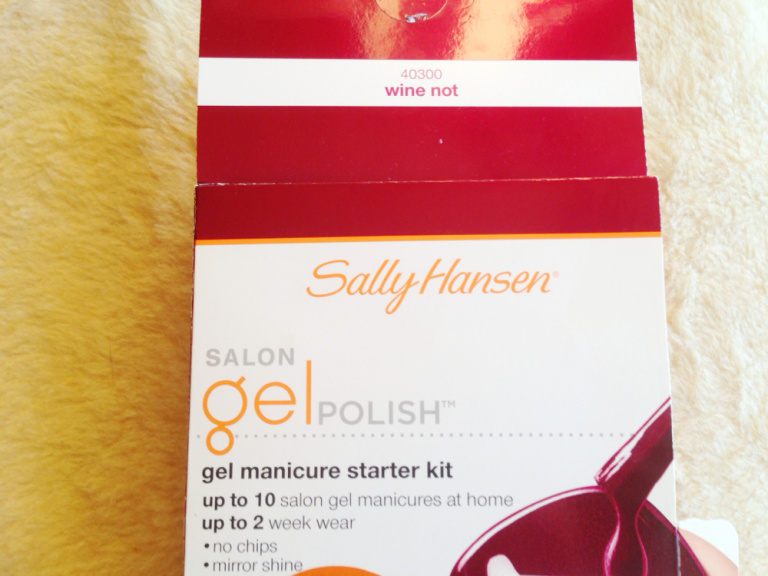
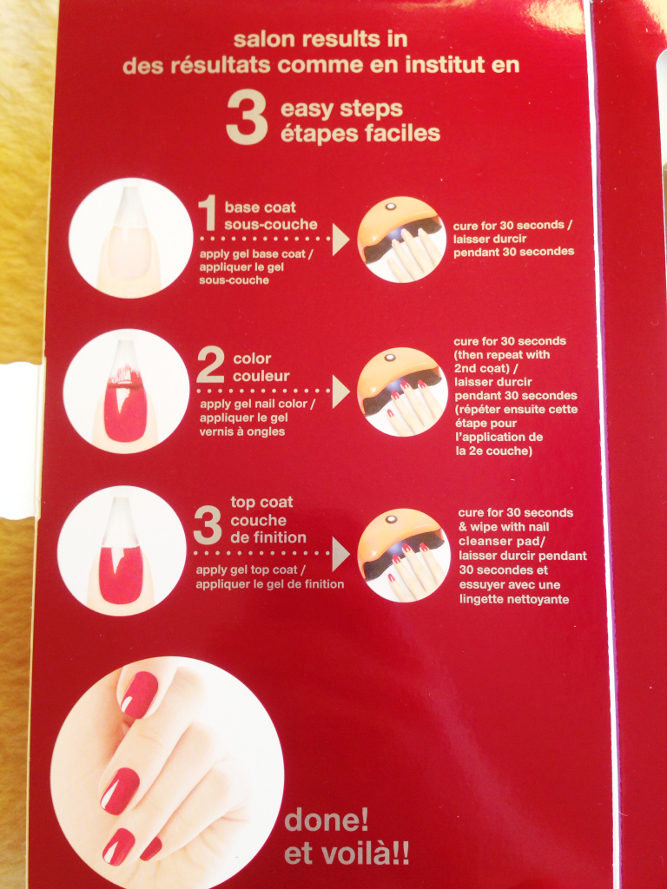
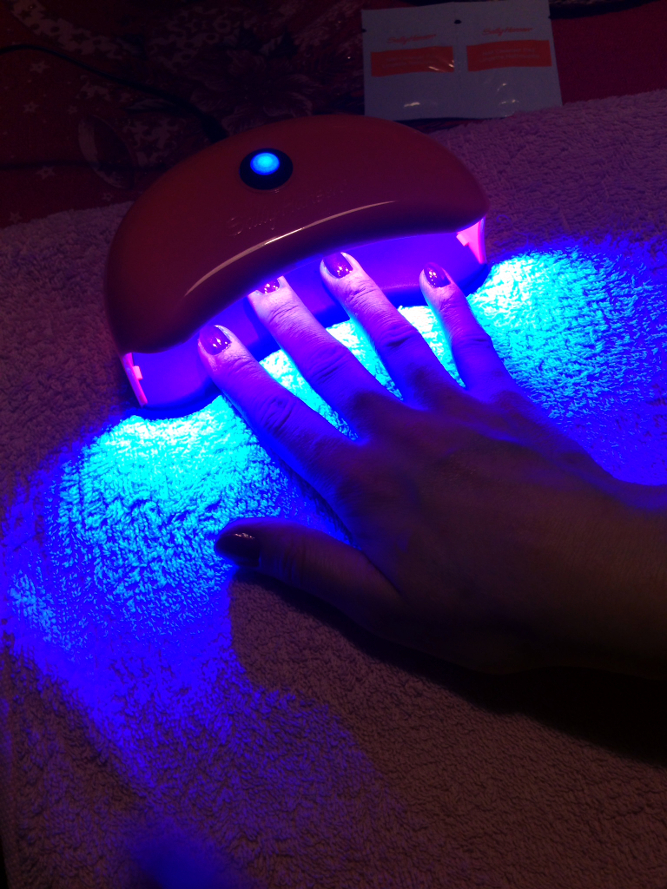
Let’s first look at what this Sally nails starter kit contains. This at home gel manicure is based on a three step process, so you will definitely need a base coat, a color gel polish and a top coat. Since gel has to be cured with light, a mini LED lamp comes with the set too.
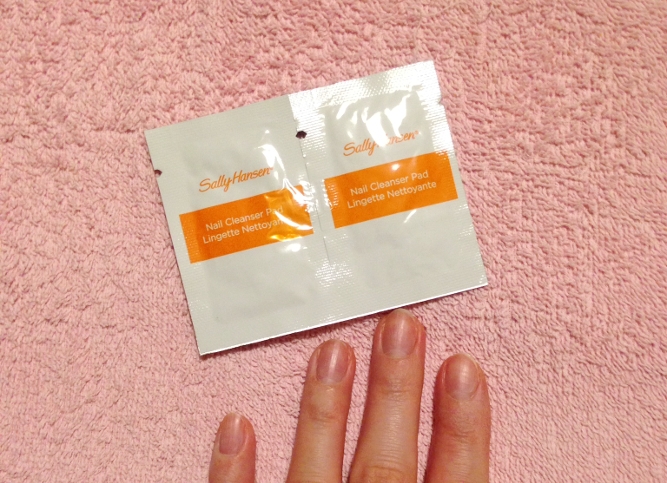
 Before you start the diy gel nails application, you need to cleanse your nails perfectly. For this purpose, the SH starter kit contains a cuticle stick, a file & buffer and nail cleanser pads. These Sally nails can be removed with a special acetone remover only.
 Sally Hansen salon gel polish application:
After preparing my nails, the 3 step application goes very fast and takes much less time compared to usual nail polish drying time. You always work with all nails except thumbs first to be able to fit the nails under the LED light evenly.
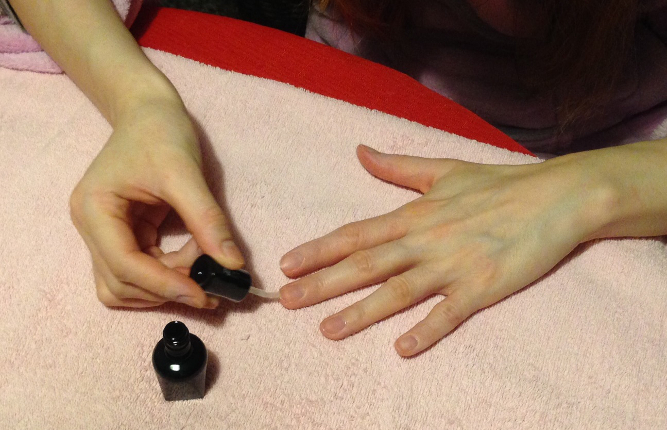 You might be worried if you will manage to color your nails with the color gel polish perfectly. With the color I am using – wine not, it goes very well. Just make sure not to apply it too near your cuticles. Again, you start with coloring the four nails each hand, cure in the lamp and finish the color and cure under light on your thumbs.
 The third phase is the very same as the first one. After that, you need to use a cleanse pad once again to remove a little bit of an extra gel
layer on the nails.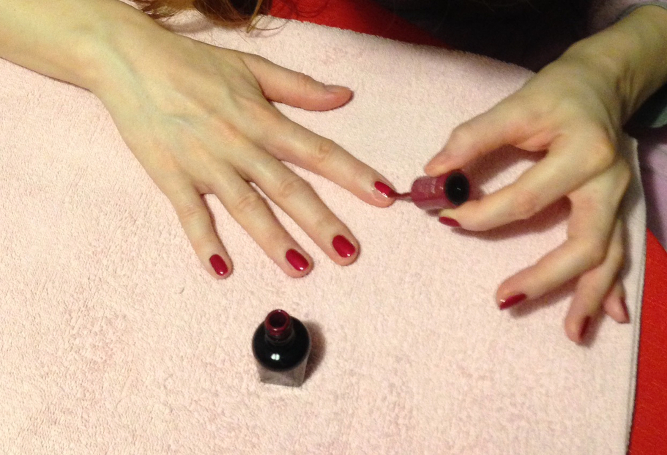 Now your nails are pretty glossy and even though they might seem wet, you are ready to do anything right now. No need to wait until dry.
However, as I already mentioned before, my nails have trouble to hold the gel so I let them cure longer under the light.
 I intended to share the experience of removing the Sally Hansen salon gel polish too but I was able to remove it very easily since the gel polish started peeling away at the place close to cuticles after wearing the Sally nails for 6 days.
To speak fairly, no conclusions regarding the product quality can be made out of this experience, because the lasting of gel polish nails basically depends on the quality of your nails.

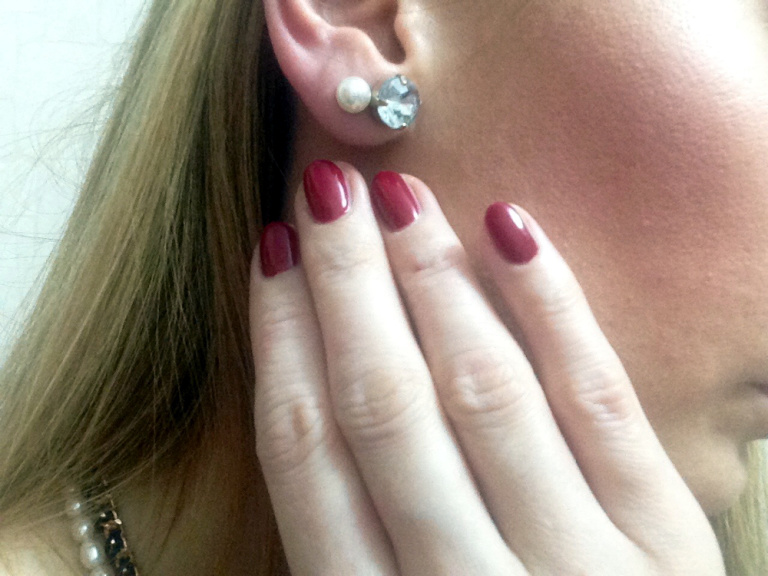
I can enjoy flawless Sally nails for up to a week, you might enjoy them much longer, e.g. my sister who loves the Sally Hansen salon gel polish is usually wearing one gel polish color for up to two weeks.
All in all, to be ready with your nails in less than 15 minutes and then enjoy your perfect manicure lasting for days, is definitely worth it!
I hope this Sally Hansen gel polish review helped and feel free to share your experience and views in comments below!
[adrotate banner=”37″]

Lena | Lena Talks Beauty
11/01/2016 @ 9:59
This is so cool! I have used the gel-style polish they have but didn’t love it, this looks much better
Chic Cocktail
11/01/2016 @ 21:35
Hey Lena, thank you! Yes, as to the “wine not” color which I used, the application was fun and it looked pretty glossy ;)